fbpx

International Coffee Day 29 August 2020

Next week (29th August) is the day you have been waiting for. The day you can relish in your morning ritual and soak up the warming of your soul. The day you can have all the cups you want (in moderation of course!) International Coffee Day! And to mark this day, we have a new recipe that serves as the perfect winter pick me up! Cappuccino custard cream (with added chocolate shavings for all those chocolate lovers).

INGREDIENTS

INGREDIENTSWEIGHT
BCM-8 Custard Mix0.500kg
Cold Water0.500kg
Boiling Water1.500kg
Coffee Flavouring0.010kg
Espresso (optional)2 shots
Thickened Cream0.800kg

METHOD

STEP 01

Add BCM-8 or Smooth Set Baked Custard Mix to cold water and stir until smooth.

STEP 02

Add the smooth mix to boiling water while stirring. Bring to the boil.

STEP 03

Add coffee flavouring and espresso shot and cool custard for 1 hr in the fridge.

STEP 04

Once custard is cooled, fold into whipped cream to lighten mixture.

STEP 05

Place coffee custard crème into a piping bag and fill coffee cups above the rim.

STEP 06

Decorate with a light dusting of cocoa powder and chocolate shavings. Serve chilled.

ORDER NOW

Contact your MAURI Account Executive or our Customer Service Team on 1800 649 494.

Pasta Challenge Tips & Recipe

Following the amazing response to our Victorian team’s Pasta Challenge, we call our MAURI followers to join in! To give you a kick-start, here are the teams tips and a recipe for fresh semolina pasta.

TIPS

The team had a number of tips to share from their pasta adventures:

  • I found when making Gnocchi, it is best to steam the potatoes not boil so you don’t get too much moisture in them.
  • When making spaghetti, make sure you dust with flour after final thickness is achieved to stop it sticking together and becoming a big clump.
  • It’s not as difficult as it sounds/looks. Make sure you have plenty of Semolina for dusting and roll it as thin as you can!

However John Maurici, our resident industry pie judge and pasta connoisseur summed it up pretty well!

1. Trust Your Gut

Making pasta from scratch is really more about a feeling, rather than measurements. Depending on the humidity, the flour, the size of the eggs, you may need more or less flour going along, so getting a feel for the dough is essential.

2. Take A Rest

After kneading, it will be time for a rest – for the dough that is! Let the dough relax for at least an hour before proceeding. This will make it smoother and easier to deal with when rolling it out.

3. Salt Cooking Water Generously

Pasta water should be salted to taste like the ocean (or the Mediterranean!) – because that is going to flavour the homemade pasta.

4. Fresh Pasta Freezes Well

Fresh pasta can also be frozen for future meals. Just put the baking sheet of pasta into the freezer for about 15 minutes – to keep the pasta bundles from sticking together – and then transfer to a freezer bag, removing as much air as possible. Frozen pasta should be cooked directly from the freezer. Add about 30 seconds to 1 minute to the cooking time.

5. Last tip

If nothing work out, call mum (Mrs Maurici) and let her know that you’re bringing the family over for a fresh plate of pasta at her house!

So now you have the tips covered, lets dive into the recipe so you can get involved!

FRESH SEMOLINA EGG PASTA RECIPE

INGREDIENTS

INGREDIENTSWEIGHT
MAURI Durum Semolina 1 Cup
MAURI Plain Flour1/2 Cup
(and an extra 1/2 cup for dusting bench)
Large Eggs2
Olive Oil2 Tbsp
Water2 Tbsp
Salt1/2 Tsp

METHOD

STEP 01

Mix all ingredients well with your hands in a suitable sized bowl till a sticky dough forms.

STEP 02

Turn the dough out onto a floured surface and proceed to knead by grabbing the top of the dough, folding from the top by half. Then using the heel of your hand, press the folded dough into the fold firmly. Turn the dough 1/4 turn and repeat. Add flour as needed to aid in the process or absorb excess moisture. Proceed to knead for 10 minutes. (Or you could just bring out the Hobart mixer and watch this process!)

STEP 03

Once the dough is smooth on the outside, you need to place it into a plastic bag and let it rest in the fridge for 20 min or even overnight if desired.

STEP 04

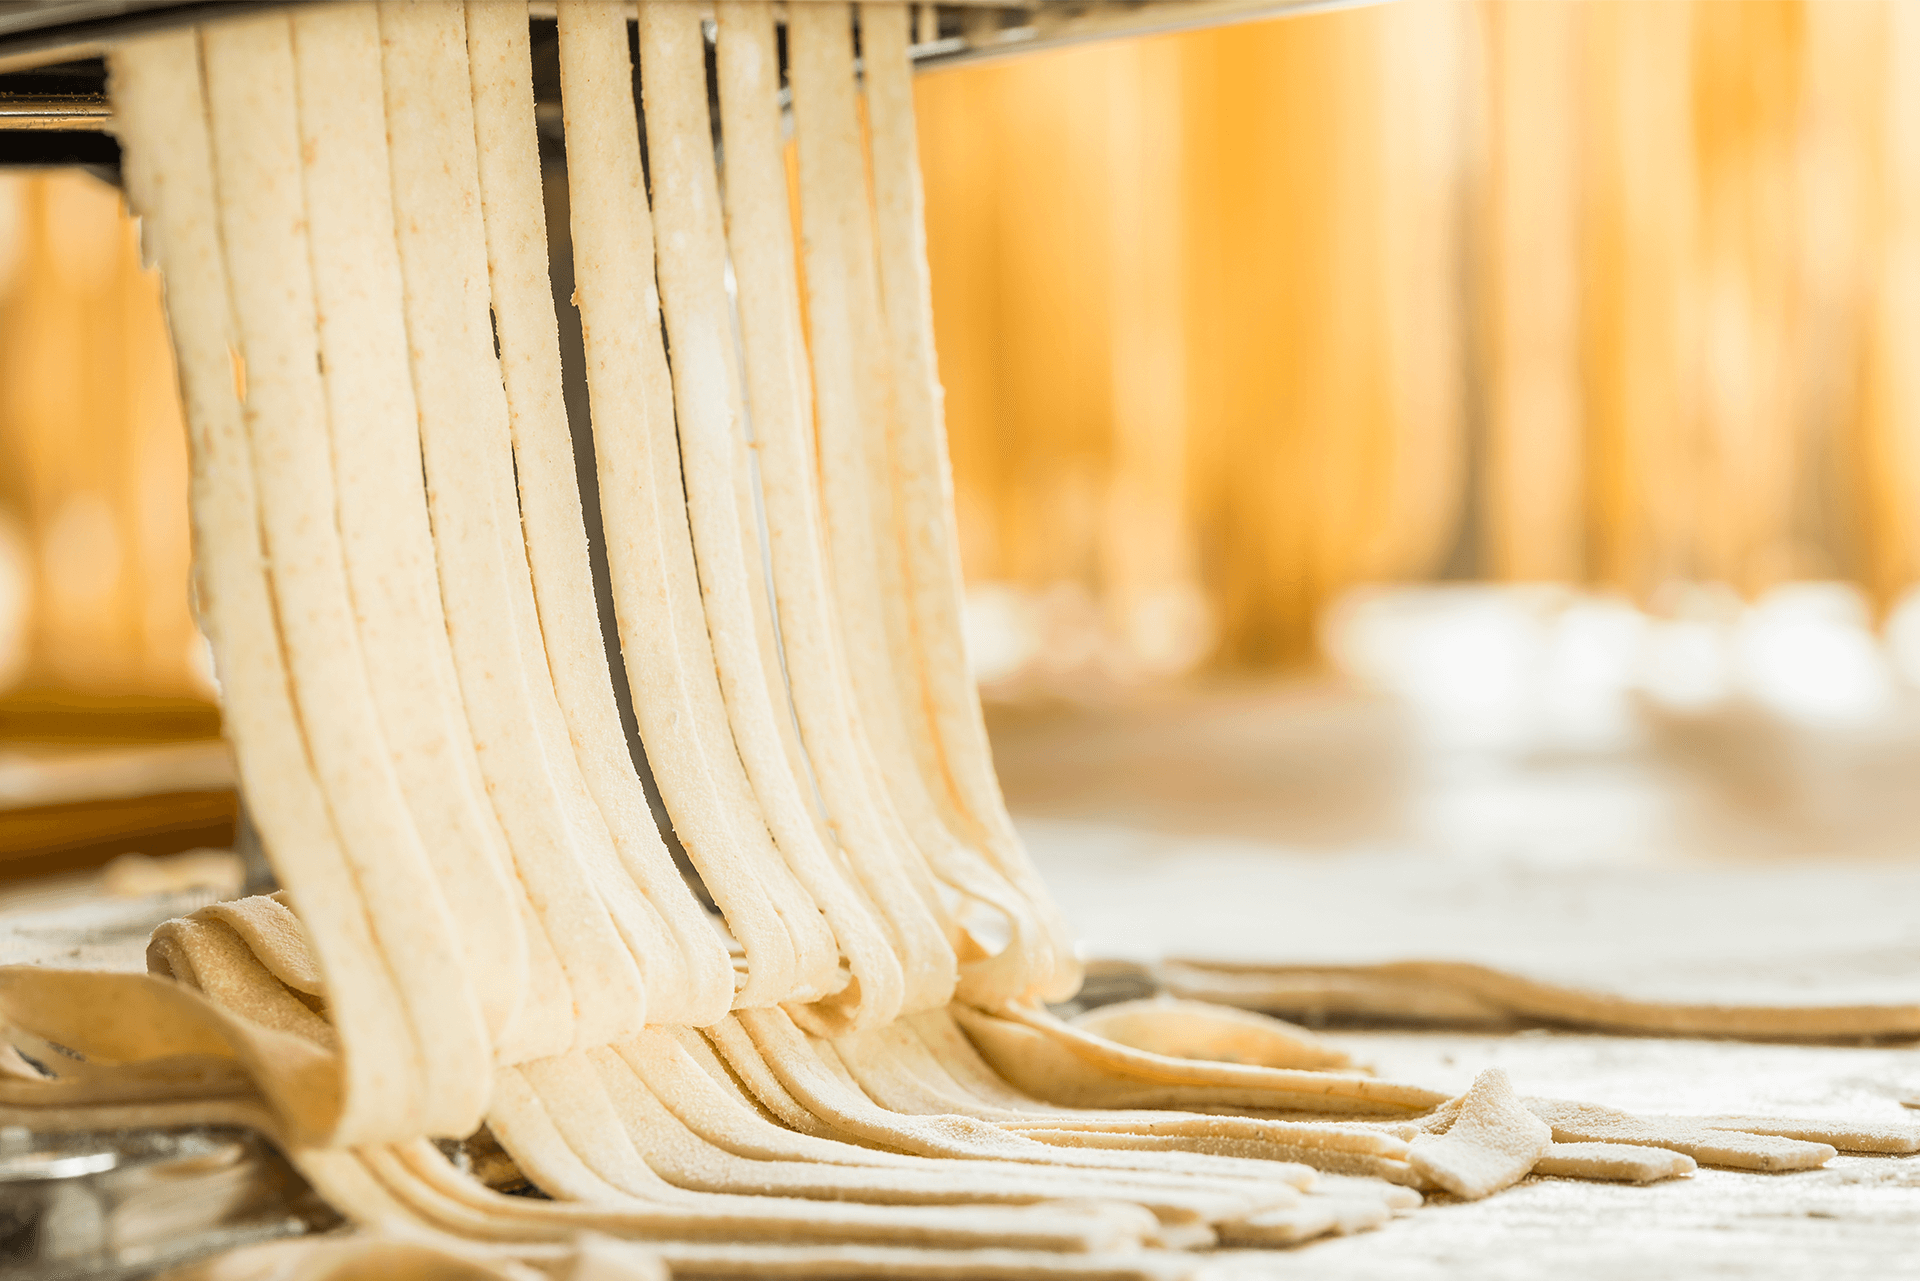
Once rested, you may proceed with the sheeting process using your Pasta Machine or roll it out using a rolling pin. For the Pasta Machine, use the largest setting and then run it through, dusting the pasta with flour first and in between. Then fold it in half and repeat this 6 times. Let it rest for a few minutes and then proceed to run sheeted pasta through the rollers going down each number on the dial until you get the desired thickness.


NOTE: For Ravioli, roll until you can see the shadow of your hand behind the pasta.


If you are cutting Pappardelle or Fettuccinie, you may want to leave it thicker, same for Spaghetti.


Sheeted pasta may also be cut on the table with the wavy wheel cutter. Try cutting rectangles and pinching them in the centre to make Farfalle.

STEP 05

Once the Pasta is sheeted, you may proceed with filling for Ravioli or cook and drain large squares to create Manicotti, Cannelloni or Lasagne.

STEP 06

Cut long Pasta may be frozen in sealable bags and cooked in salted boiled water when needed. You may also have the water going and once the pasta is cut, drop it in. Now that’s fresh Pasta!

STEP 07

Fresh Egg Pasta does not take long to cook. Be sure you have plenty of salted boiling water and taste the water to be sure there is enough salt for your taste. Drop the Pasta in to the boiling water and stir to prevent sticking. After 3 minutes or when the Pasta begins to float to the top grab a piece and take a bite. (Use tongs or a spoon) The Pasta should be tender to the bite but not “mushed”!

STEP 08

Drain the Pasta immediately and toss with a small amount of Olive Oil, do not rinse it! Now top with your favourite sauces & enjoy!

ORDER NOW

Contact your MAURI Account Executive or our Customer Service Team on 1800 649 494.

National Lamington Day

The National Day for one of Australia’s icons, the Lamington, is coming up on 21st July. A staple treat lining the bakery cabinet of bakeries across Australia for over 100 years, we couldn’t let the day pass without sharing one of our lamington recipes, with a twist of course! Try our double chocolate lamington recipe and let us know how it stacks up against the classic!

INGREDIENTS

IngredientsWeight
Lamington
MAURI NCF Utility Cake Mix2.000kg
Eggs0.400kg
Water0.800kg
Fine Dark Cocoa Powder 0.280kg
Chocolate Dipping Sauce
Icing Sugar 0.950kg
Cocoa Powder (Sieved) 0.150kg
Boiling Water0.160kg
Unsalted Butter (Melted)0.150kg
Chocolate Buttercream
Castor Sugar0.300kg
Water0.180kg
Glucose0.150kg
Egg Yolks18pce
Unsalted Butter (Softened) 0.900kg
Dark Chocolate 0.210kg

LAMINGTON METHOD

STEP 01

Add water, eggs and NCF Utility Cake Mix in a bowl.

STEP 02

Using a whisk attachment, mix on low speed for 1 minute. Scrape down.

STEP 03

Mix for a further 5 minutes on high speed.

STEP 04

Mix for a further 5 minutes on medium speed.

STEP 05

Fold in by hand the cocoa powder and mix well to combine.

STEP 06

Scale off mixture into baking paper lined 600 x 400mm slab tray/pan at 3000g.

STEP 07

Bake at approximately 175°C for 25 minutes.

CHOCOLATE DIPPING SAUCE METHOD

STEP 01

Mix all ingredients together, whisking by hand until smooth and free of lumps.

CHOCOLATE BUTTERCREAM METHOD

STEP 01

Boil the water, glucose and sugar together and cook syrup to 120°C (soft ball stage).

STEP 02

Blend egg yolks in a mixing bowl on medium speed.

STEP 03

Once the sugar syrup has reached 120°C, slowly stream the hot mixture over the whisking eggs until all syrup is in the bowl.

STEP 04

Turn speed of machine up to high and continue to whisk until mixture cools down and doubles in volume.

STEP 05

Fold the softened butter into the egg mixture and continue to mix until light and aerated.

STEP 06

Lastly, whisk in melted dark chocolate and mix until smooth and well combined.

ASSEMBLY

STEP 01

Cut lamington cake into 6cm squares.

STEP 02

Dip lamington in warm chocolate sauce and roll in shredded coconut.

STEP 03

Set lamingtons aside in the fridge to set.

STEP 04

Cut lamingtons in half and fill with chocolate buttercream using a star shape-piping nozzle.

Baking times will vary depending on the oven.

ORDER NOW

Contact your MAURI Account Executive or our Customer Service Team on 1800 649 494.
The ‘Autolyse method’: a different way to bake

With Australians spending more time at home than usual right now, many are finding sanctuary in the kitchen. This includes thousands of professional and home bakers, as well as members of our own internal team here at MAURI who’ve been using their downtime to get back to what they love….baking. We’ve been sharing some of their wonderful creations on Facebook and Instagram and we’ll continue to do so. One of the most interesting recent recipes features a baking technique known as ‘autolyse.’ If you’re not familiar with it, don’t worry, you’re not alone!

What is autolyse baking?

Autolyse was first discovered back in the mid-1970s by a French Master Baker, Professor Raymond Calvel. During a series of bread baking experiments, he found extending the rest period of his mixture could greatly improve the links between starch, gluten and water – so when the mixing process was restarted, the dough attained a wonderfully smooth state far more quickly than usual.

How does the process work?

The basic principle of autolyse baking is very simple. Some (or even all) of the water and flour used in your bread mixture is pre-blended and then set to rest for an extended period of time. Doing this allows you to condition the gluten before adding the active ingredients – a technique that can deliver a dough with absolutely delicious results.

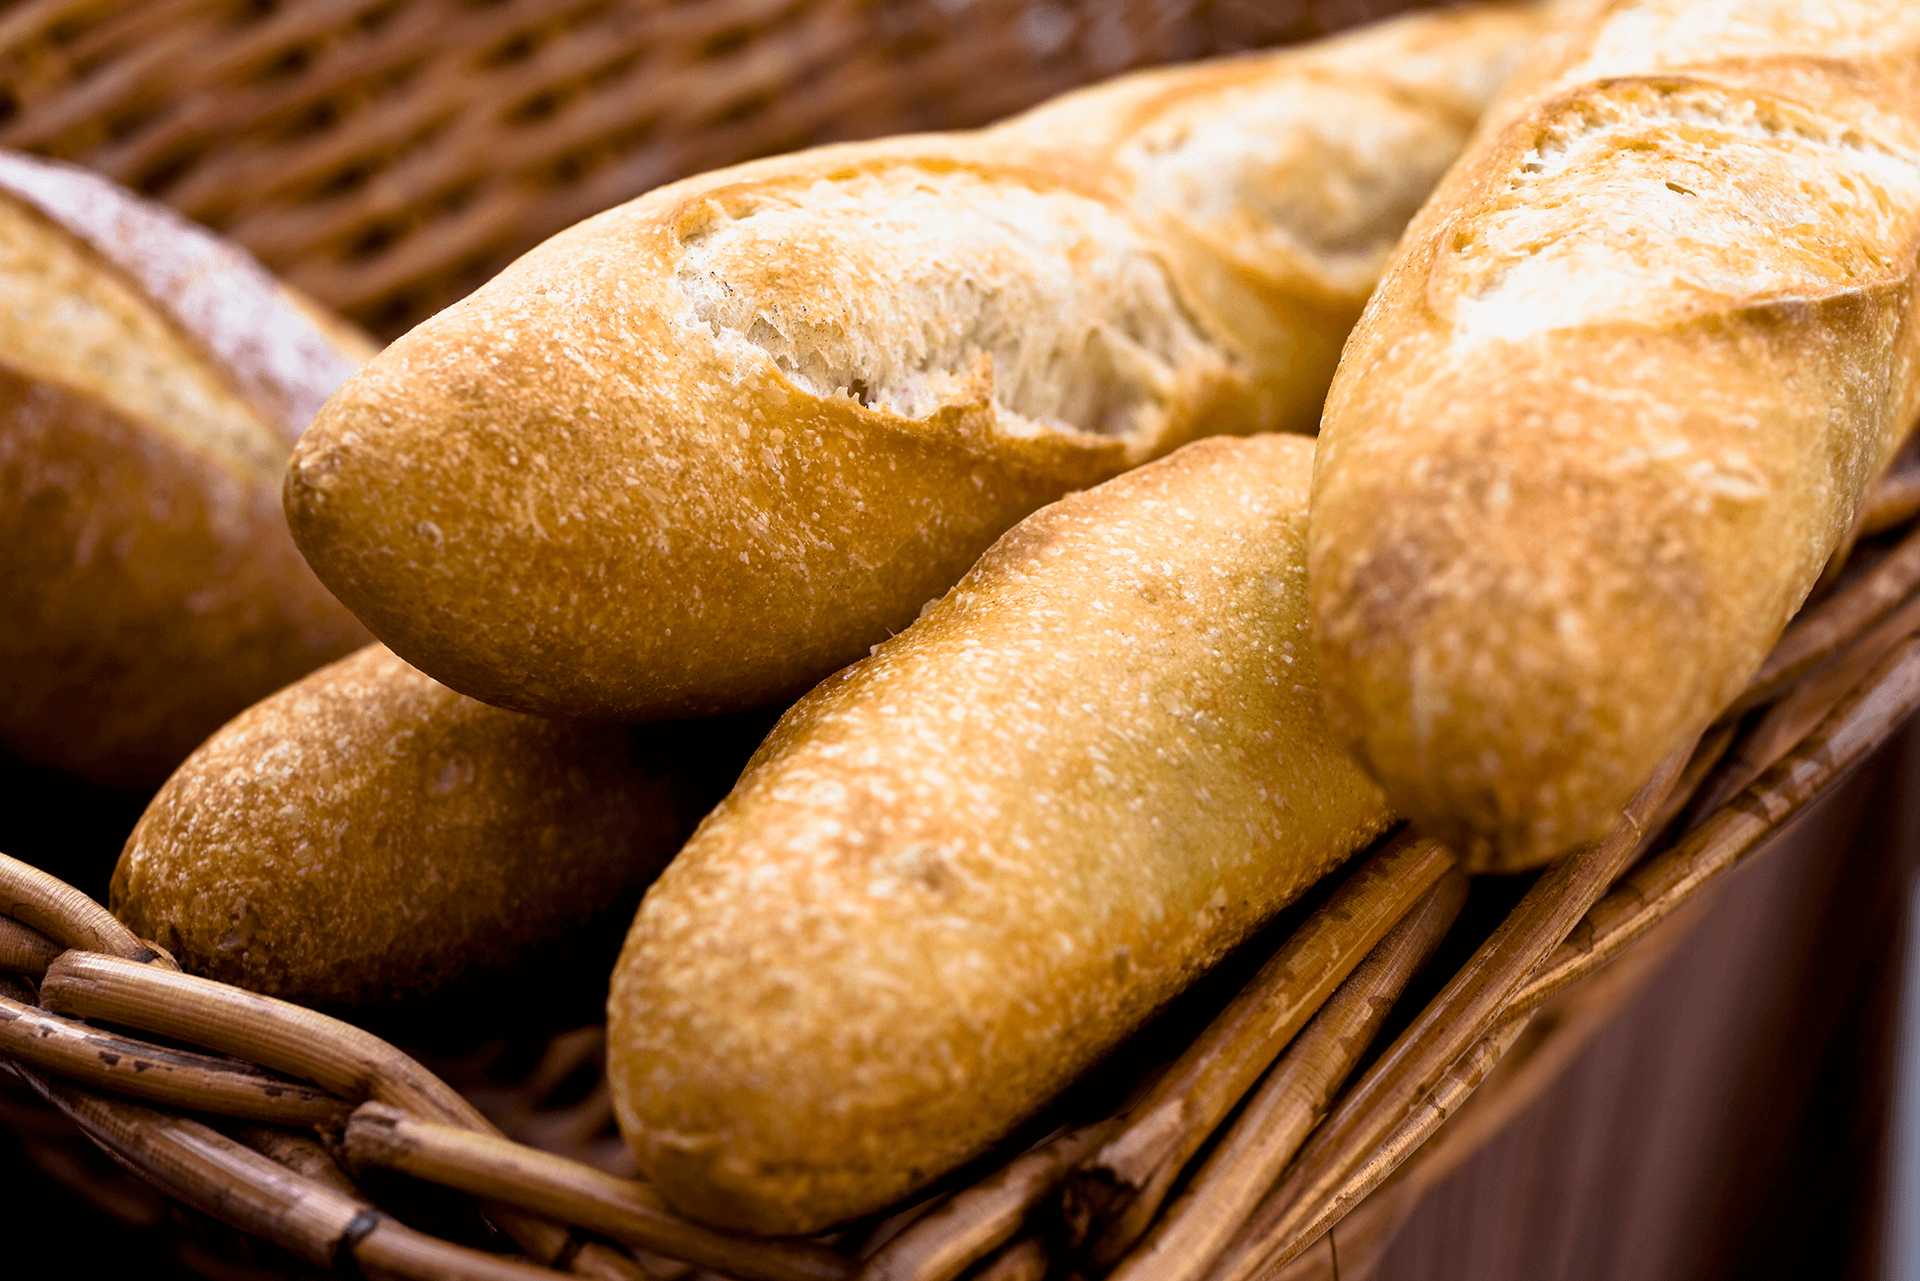
This tempting batch of baguettes, above, is a great example. One of our bakers made these recently at home using the autolyse method. He rested his mixture for 3 hours before adding in the salt and yeast. While resting times will vary from recipe to recipe, and are always open to some experimentation, he assures us the longer you rest your mixture the better!

Ready to try autolyse for yourself?

If you’re interested in trying the autolyse method, here’s the exact recipe used by our baguette baker:

INGREDIENTS

INGREDIENTSWEIGHT
MAURI Baker's Extra Flour1.380kg
Salt0.020kg
MAURI Dried Yeast0.0085kg
Water0.930kg
Oil0.015kg
Optional

METHOD

STEP 01

Mix Flour and Water together and blend at low speed for 2-5 minutes.

STEP 02

This brings us to the Autolyse Stage. Here we need to rest the dough for 2 – 4 hours at 23–25C.

STEP 03

Add Salt + Yeast and any other side ingredients and mix to achieve full dough development.

STEP 04

Rest in a tub for 1 hour, stretching and folding it every 20 mins.

STEP 05

Scale and shape as desired.

STEP 06

Proof until ready.

STEP 07

Bake at roughly 190C for 25 mins*
*Baking temperature is different for every oven, so aim to bake for a set time and adjust the temperature as required.

STEP 08

Allow to cool and eat when ready!

These instructions may vary depending on manufacturer’s premises and equipment used.

Join us in the baking of your own sourdough creations! Follow us on Instagram and Facebook to stay up-to-date on the challenge!

Sourdough challenge – Sourdough Donuts Recipe

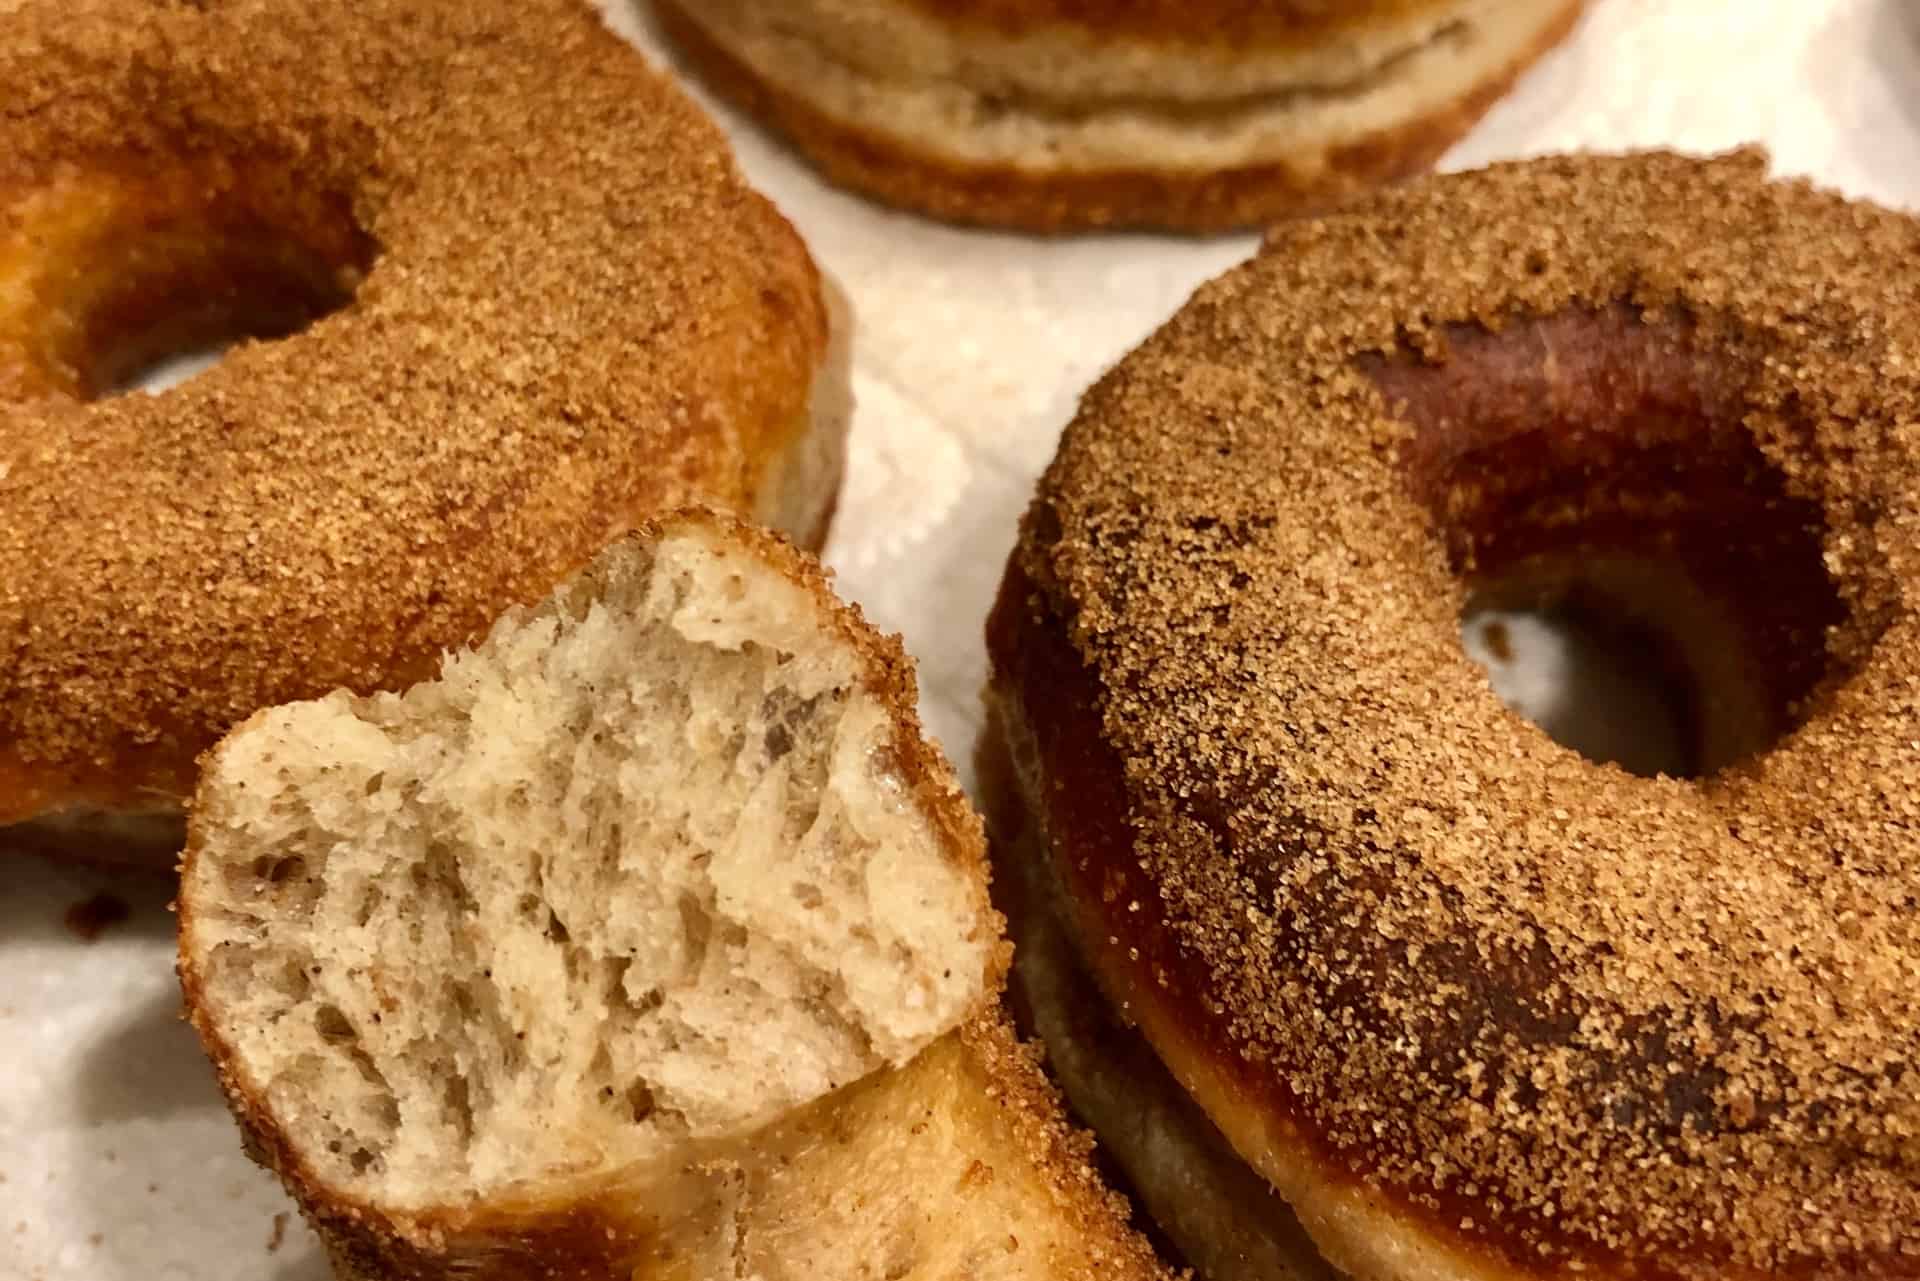
Our team have been working from home and have been very busy playing with their own starters and mother doughs to create some fun recipes for you! One recipe that was highly requested was the ‘Sourdough donuts’. Check out the recipe here, and make sure to tag us in your creations!

INGREDIENTS

INGREDIENTSWEIGHT
Milk230ml
Eggs1 large egg
Butter (melted)0.050kg
Sourdough Starter0.220kg
MAURI Victory Flour0.500kg
Sugar0.050kg
Cinnamon1 tsp
Ground Cardamom1/2 tsp
Salt1 tsp

METHOD – PART 1

STEP 01

Combine liquid ingredients with starter. Fold in spices and dry ingredients.

STEP 02

Keep folding or mixing for 10-15 minutes. Take out of bowl onto lightly floured surface and knead into smooth ball.

STEP 03

Place in lightly oiled bowl and coat dough with oil. Cover and set aside for 4-5 hours.

STEP 04

During this time, typical sourdough process ie. every hour lift one edge and fold over to middle of dough.

STEP 05

After 4-5 hours cover and refrigerate overnight.

METHOD – PART 2

STEP 01

Next day – while dough is still cold, gently roll dough to ca. 4cm on lightly floured surface.

*Doughnut cutter was used to create the shape.

STEP 02

Place gently on a lightly oiled sheet of baking paper, leaving some space between doughnuts. Brush tops with oil.

STEP 03

Cover with plastic wrap. Let rise for ca. 2 hours.

*Ready when you poke it and it slowly fills back in.

STEP 04

Heat ca. 500 ml oil in a heavy pan to ca. 180C. Cook ca. 2-3 mins either side until golden brown.

STEP 05

Roll in cinnamon sugar to coat and set on cooling rack.

STEP 06

Eat warm!

These instructions may vary depending on manufacturer’s premises and equipment used.

Join us in the baking of your own sourdough creations! Follow us on Instagram and Facebook to stay up-to-date on the challenge!

National Cookie Day

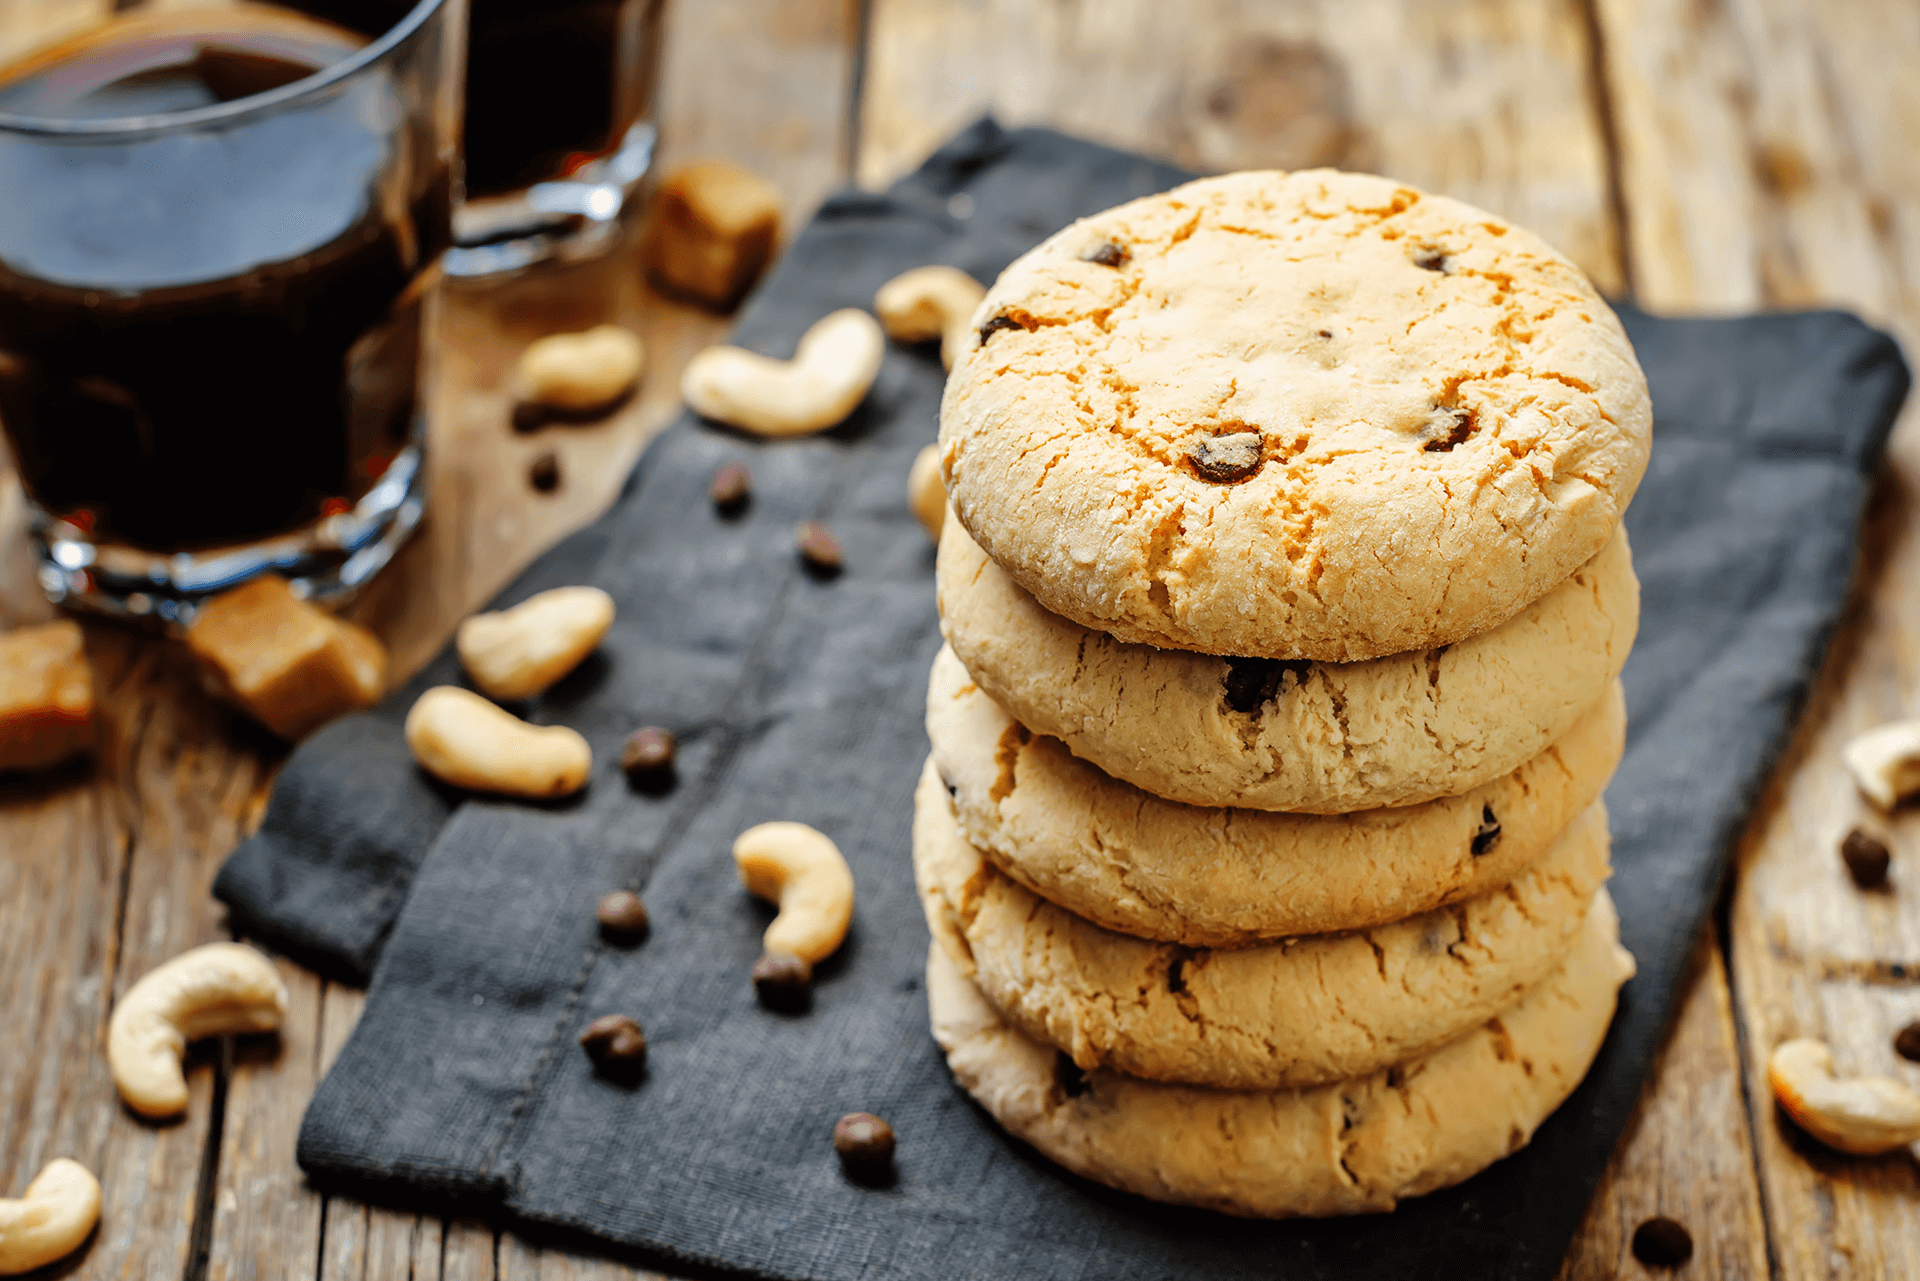
To celebrate National Cookie Day, try this recipe for our Choc Chip & Cashew Nut Spelt Cookies!   

INGREDIENTS

INGREDIENTSWEIGHT
GROUP 1
Unsalted Cake Margarine/ Butter 0.600kg
Brown Sugar0.150kg
Caster Sugar0.300kg
GROUP 2
MAURI White Spelt Flour1.000kg
Salt0.010kg
Bicarbonate Soda0.010kg
Vanilla Extract0.010kg
Eggs0.300kg
GROUP 3
Chocolate Buttons0.300kg
Chopped Cashew Nuts0.100kg

CHOC CHIP & CASHEW NUT SPELT COOKIE METHOD

STEP 01

Using a paddle attachment, cream Group 1 for 1 minute on first speed and 1 minute on second speed.

STEP 02

Add Group 2 on first speed and continue mixing until enough dough forms (approximately 1-2 minutes). Do not over mix.

STEP 03

Blend in Group 3 on first speed for 1 minute.

STEP 04

Roll into a sausage shape
(Note: Dough can then be refrigerated until required or used immediately) 

STEP 05

Cut dough into 50g pieces. Place evenly spaced on tray and flatten dough to desired thickness.

STEP 06

Bake at 180°C for 15 minutes or until golden.

These instructions may vary depending on manufacturer’s premises and equipment used.

ORDER NOW

Contact your MAURI Account Executive or our Customer Service Team on 1800 649 494.

Christmas Tree Petite Cakes

Easy to make. Fun to eat. These Christmas Tree Petite Cakes are sure to be a hit with kids of all ages – even grown up ones! All you need is MAURI Crème Muffin Mix and a little Christmas creativity.

INGREDIENTS

INGREDIENTSWEIGHT
Muffin Mix
MAURI Crème Muffin Mix1.000kg
Egg0.350kg
Water0.250kg
Oil0.275kg
Dark Chocolate (melted)0.300kg
Vanilla Buttercream
Castor Sugar0.200kg
Water0.120kg
Glucose0.100kg
Egg Yolks12pce
Softened Unsalted Butter0.600kg
Green Food Colouring

CHRISTMAS TREE PETITE CAKES

METHOD

Muffin Mix

STEP 01

Place water and egg into a bowl, and then add MAURI Crème Muffin Mix.

STEP 02

Using a beater, mix on low speed for 1 minute. Scrape down.

STEP 03

Mix for a further 3 minutes on medium speed.

STEP 04

Add oil and blend on low speed for 2 minutes.

STEP 05

Mix in the melted dark chocolate to flavour and colour the batter.

STEP 06

Scale 50g of muffin mix into shiny silver cupcake patty pans or any decorative paper patty pan.

STEP 07

Bake at 200°C until baked through.

Vanilla Buttercream

STEP 01

Boil the water, glucose and sugar together and cook syrup to 120°C (soft ball).

STEP 02

Place the egg yolks in a mixing bowl fitted with a whisk attachment and whisk mixture on second speed.

STEP 03

Once the sugar syrup has reached 120°C, slowly stream the hot mixture over the whisking eggs until all is in the bowl.

STEP 04

Turn speed of machine up to third speed (top speed) and continue to whisk until mixture cools down and doubles in volume.

STEP 05

Fold the softened butter into the egg mixture and continue to mix until light and aerated.

STEP 06

Mix in the green food colouring until you reach the desired colour.

ASSEMBLY

STEP 01

Once petite cakes have cooled down begin decorating tops of each cake.

STEP 02

Using a piping bag fitted with a star tube nozzle pipe spirals on top of each petite cake forming mini Christmas trees.

STEP 03

Sprinkle the tops of each buttercream tree with sparkly sprinkles adding as much or as little bling as desired.

STEP 04

Store petite cakes in fridge or airtight container.

Yield: 40 cupcakes.

These instructions may vary depending on manufacturer’s premises and equipment used.

For more Christmas recipes using our Sweet Goods products, fill out the form below:

ORDER NOW

Contact your MAURI Account Executive or our Customer Service Team on 1800 649 494.
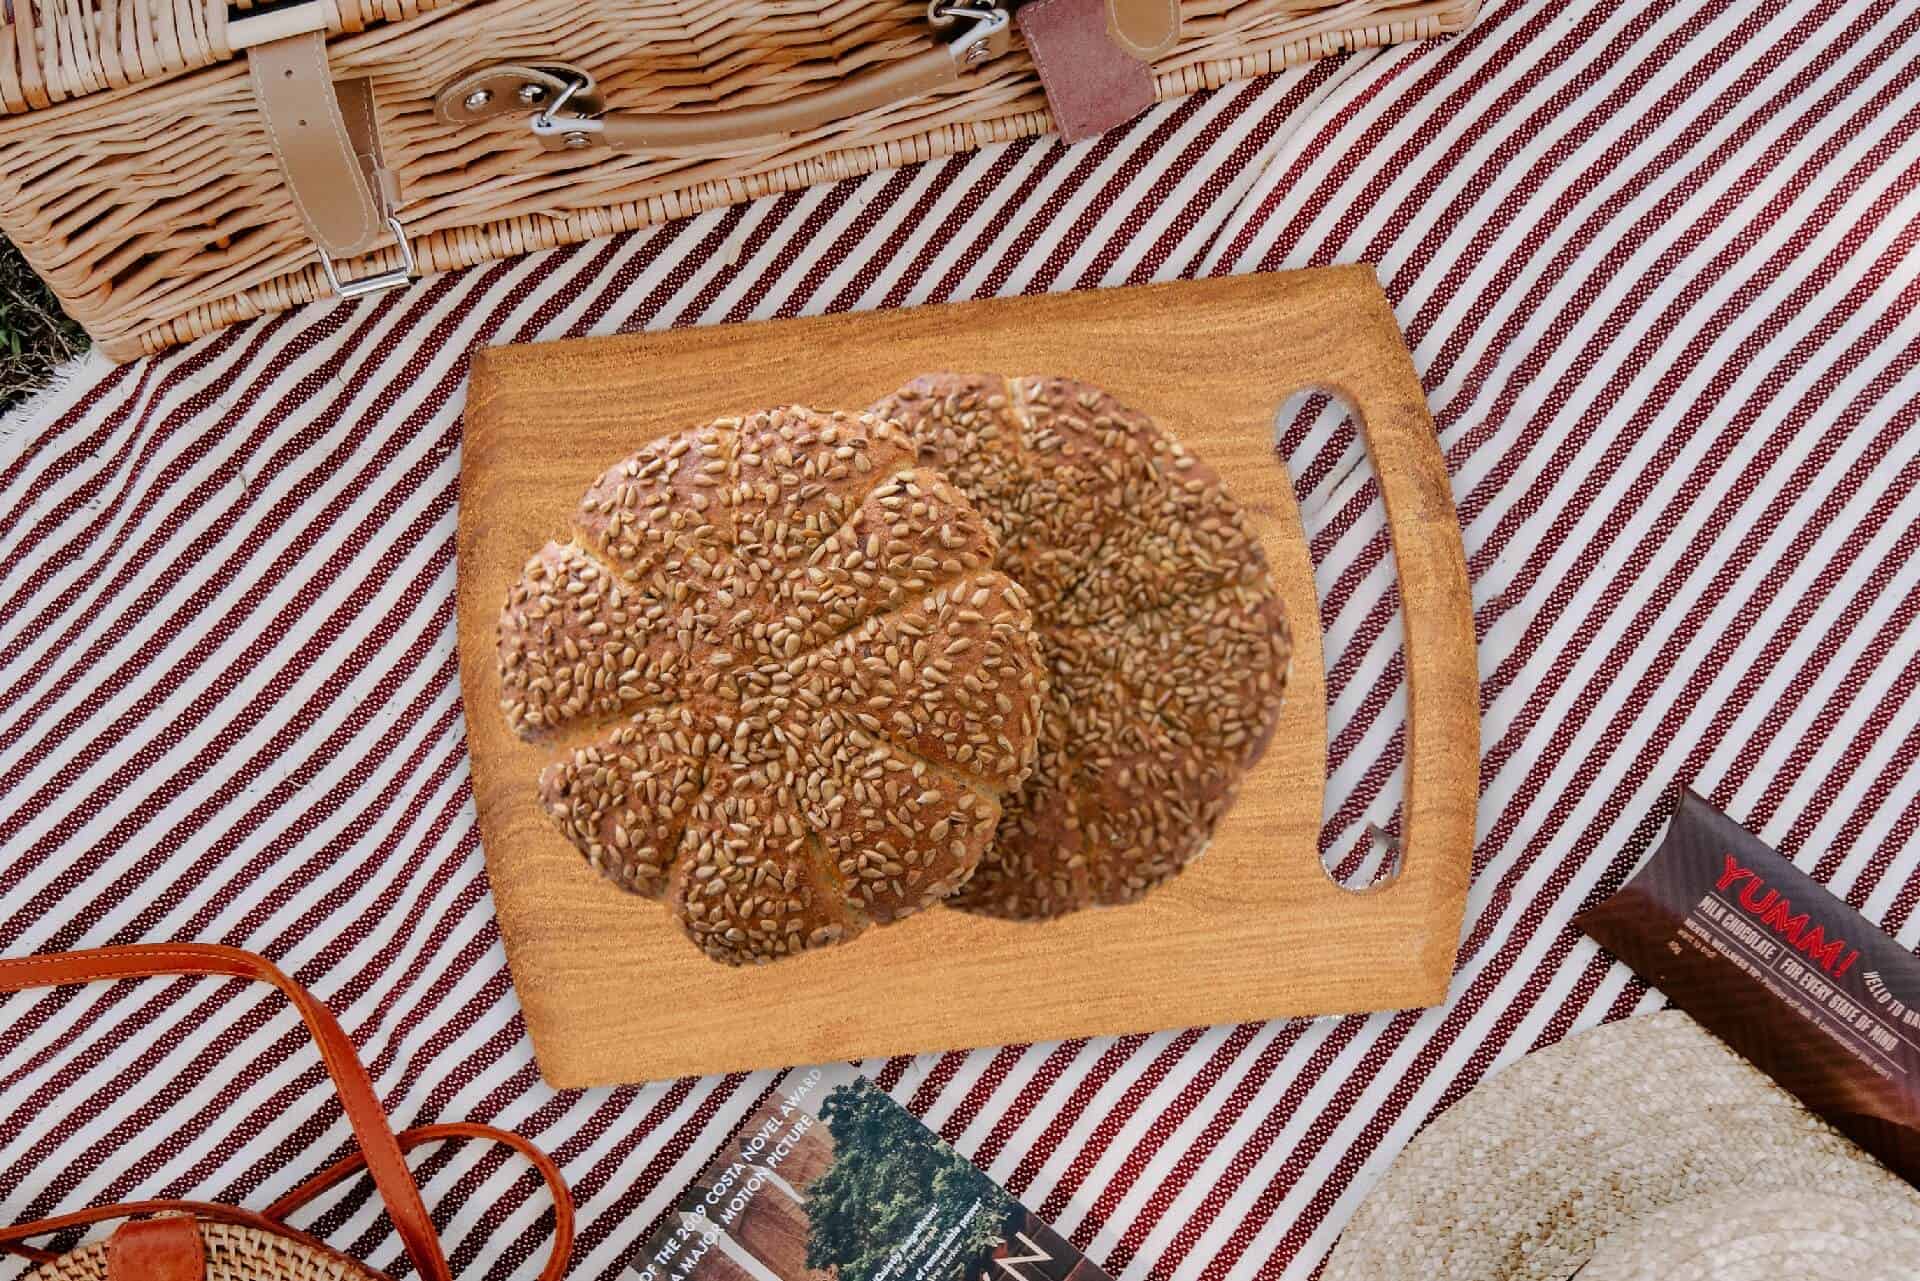
Summer Picnic Recipe

With summer fast approaching, we wanted to share the below recipe to provide inspiration for your summer baking! Perfect for sharing while down at the beach, or to take to a picnic.

INGREDIENTS

INGREDIENTS WEIGHT
GROUP 1
MAURI Seven Grain and Seed 0.750kg
Honey0.100kg
GROUP 2
MAURI Victory Premium Bakers Flour3.750kg
MAURI Harvest Meal Premix0.500kg
MAURI All Purpose Improver 0.050kg
Salt0.100kg
Canola Oil0.100kg
MAURI Instant Dried Yeast0.075kg
Water3.250kg
GROUP 3
Diced Banana 1.000kg
Sunflower SeedsFor topping

BANANA & MUESLI ROLLS

STEP 01

Combine the MAURI Seven Grain and Seed with the honey on a baking tray.

STEP 02

Roast at 200°C for 5-10 minutes or until the grains and seeds are lightly toasted and golden. 

STEP 03

Mix and develop all the ingredients in Group 1 and 2 for 2 minutes on first speed, followed by 5-7 minutes on second speed or until the dough reaches peak development. 

STEP 04

Add the banana and fold through on first speed to evenly distribute throughout the dough.

STEP 05

Finished dough temperature should be about 28°C +/- 1°C.

STEP 06

Scale the dough into 350g pieces and round up. Cover and allow to rest for 5 minutes.

STEP 07

Using the rolling pin, sheet each dough piece out into ~20cm rounds.

STEP 08

Dip each round into sunflower kernels and use a scraper to cut the dough piece into 8 equal triangular portions prior to proving.

STEP 09

Prove for approximately 45 minutes (or until optimal proof height is reached) at 38°C and 80% RH.

STEP 10

Bake at 200°C with steam at the beginning of baking until the product is baked through.

These instructions may vary depending on manufacturer’s premises and equipment used.

ORDER NOW

Contact your MAURI Account Executive or our Customer Service Team on 1800 649 494.

Celebrate International Coffee Day

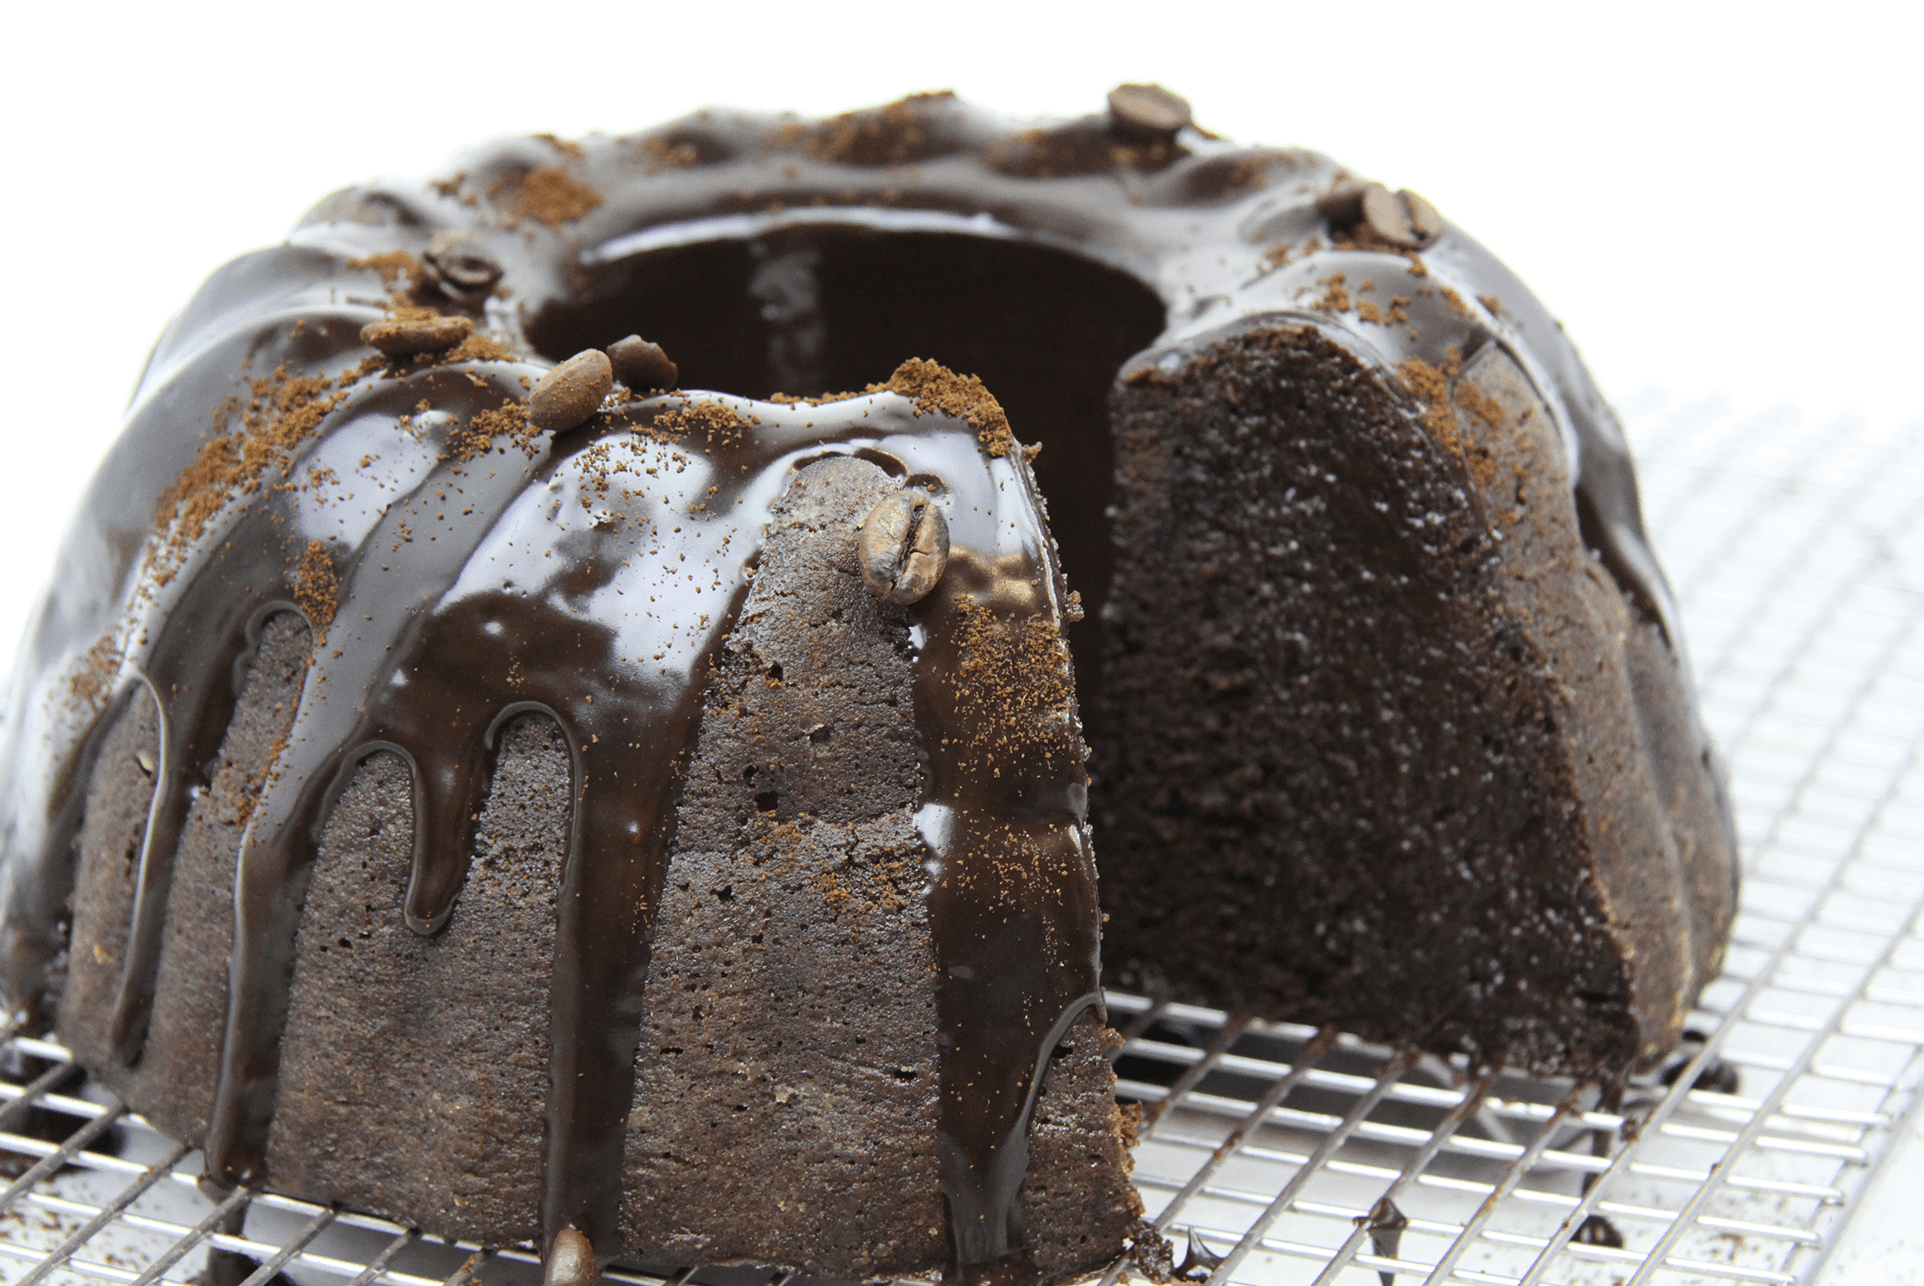
To celebrate International Coffee Day, try this recipe for our Chocolate Espresso Bundt Cake!   

INGREDIENTS

INGREDIENTSWEIGHT
Chocolate Mudcake
MAURI Chocolate Mudcake Mix1.000kg
Vegetable Oil0.150kg
Dark Chocolate Melts0.150kg
Hot Water0.200kg
Cold Water0.205kg
Coffee Sugar Syrup
Castor Sugar0.270kg
Water0.200kg
Roasted Coffee Beans0.030kg
Shiny Dark Chocolate Glaze
Water0.250kg
Thickened Cream0.150kg
Cocoa Powder0.100kg
Castor Sugar0.250kg
Dark Chocolate0.200kg

CHOCOLATE MUDCAKE METHOD

STEP 01

In a bowl, melt the dark chocolate melts in the hot water and stir well. Once the chocolate is melted, add the cold water.

STEP 02

Combine all the ingredients into a mixing bowl and using a beater, mix on low speed for 3 minutes.

STEP 03

Scale into lightly greased and floured 8 inch Kugelhopf cake tins (580g drop weight) and bake at 160°C for 55 minutes.

STEP 04

After removing the cake from the oven, turn the cake out of the tin and place decorative side up.

STEP 05

Lightly brush the top of the warm mud cake with the sugar syrup.

SUGAR SYRUP METHOD

STEP 01

Bring sugar and water to the boil.

STEP 02

Remove from heat and add the coffee beans. Cover saucepan with cling film and allow mixture to sit for 1 hour.

STEP 03

Once mixture is required, strain the mixture, removing the coffee beans and re-heat the coffee syrup to a simmer before brushing onto the cake.

SHINY DARK CHOCOLATE GLAZE METHOD

STEP 01

Combine the water and the cream and bring to the boil.

STEP 02

Add the cocoa powder and sugar and mix, continue cooking to 106°C.

STEP 03

Remove from heat and pour over the chopped dark chocolate and mix until smooth.

STEP 04

Keep refrigerated until required.

STEP 05

Warm desired quantity of chocolate glaze to body temperature of 37°C.

STEP 06

Place cake on a wire rack with drip tray beneath and carefully pour a little of the glaze over the top rim of the cake, allowing some dripping to occur down the side of the cake.

STEP 07

Decorate top of cake with a mixture of ground coffee and whole coffee beans.

These instructions may vary depending on manufacturer’s premises and equipment used.

ORDER NOW

Contact your MAURI Account Executive or our Customer Service Team on 1800 649 494.
Celebrate National Donut day

Check out this recipe for our S’mores Donuts. 

INGREDIENTS

IngredientsWeight
Donut
YRD Donut Mix2000g
MAURI Compressed Yeast or 100g
Instant Dry Yeast* 40g
Water, we recommend 48-50% water on premix weight. 960-980g
*if using MAURI Instant Dry Yeast add an extra 60g water to the mix
Shiny Dark Chocolate Glaze
Water250g
Thickened cream150g
Cocoa powder100g
Castor sugar250g
Dark chocolate 200g

DONUT METHOD

STEP 01

Place the water, YRD Donut Mix and then yeast into a mixer fitted with a dough hook.

STEP 02

Blend on low speed for 1 minute. Scrape down.

STEP 03

Mix on high speed for 10-12 minutes or until dough reaches peak development.

STEP 04

Aim for finished dough temperature of 27-30°C.

STEP 05

Rest for 5 minutes before processing/sheeting.

STEP 06

Sheet out the dough to approximately 10mm thickness. Ensure to shake down the dough to reduce tension in the dough, relax the dough, as this will reduce shrinkage.

STEP 07

Cut donuts as required and place into proofer. Please note: the dough is soft and fairly sticky to touch.

STEP 08

We used a 9cm cutter and proofed for 23 minutes.

SHINY DARK CHOCOLATE GLAZE METHOD

STEP 01

Combine the water and the cream and bring to the boil.

STEP 02

Blend in cocoa powder and sugar then continue to heat, while stirring, until temperature reaches 106°C.

STEP 03

Remove from heat and pour over the chopped dark chocolate and mix until smooth.

STEP 04

Reserve mixture in fridge until required.

STEP 05

Warm desired quantity of chocolate glaze to body temperature of 37°C.

STEP 06

Dip the donut into the glaze by submerging 1/3 of the donut, then place on a tray with glazed side up.

STEP 07

Decorate top of glazed donut with pieces of toasted marshmallows and crushed biscuit pieces.

TOASTED MARSHMELLOWS

STEP 01

We used store bought marshmallow puffs and lightly toasted them using a butane gas flame torch.

STEP 02

Alternatively place cut pieces of marshmallow onto a baking tray and place under a grill or in a hot oven to toast.

BISCUIT CRUMBS

STEP 01

Traditionally the American S’mores campfire sweet uses Graham crackers. We substituted this with a baked shortbread or crushed shortbread biscuits, you can use other biscuit crumbs of your choice for a different crunch.

ORDER NOW

Contact your MAURI Account Executive or our Customer Service Team on 1800 649 494.
For more great recipes using our YRD Donut Mix, fill out the form below. 

Stay up-to-date with our FREE 'Baking Better' eNewsletter